This kit got me, it got me good
Hello, Kimi here and I’m back again with the review for the 1/100 XM-01 Den’an Zon. It has been an interesting two weeks for me here, with me visiting Taiwan on the first week on May and now having to go through an epic historic event just happened right in front of my eyes last week. So, you all can imagine there was a load of stuff for me to unpack emotionally and physically in this past few weeks.
Hence, the slow release of this review, well, at least one of the reasons why.
Anyways, we are gearing up to have an epic unboxing this week, and it is one that I’m really excited about. I’m as well quite excited on getting to work on the HG Bracer Phoenix, I’ve actually have started a bit on the HG Bracer Phoenix and all I can say is to that I have been having an all right time with it.
But we are not going to be talking about the HG Bracer Phoenix this week, we are this week will be talking about this particular retro kit and before we get to the actual review let is first start with a little bit of lore about this kit, shall we?
History and development of the XM-01 Den’an Zon

Model name : XM-01
Classification : Mass-Production Close Quarters Combat Mobile Suit
Weapon systems : Dual Beam Gun, Beam Shield, Beam Saber, Shot Lancer/Heavy Machine Gun
Height : 14.0m
Armour Material : Titanium Alloy/Ceramic Composite/High-Ceramic Composite
Powerplant : Minovsky Ultracompact Fusion Reactor (3880kw total output)
Total Thrust : 3 x 17310kg, 2 x 8520kg, 4 x 4460kg
Effective Sensor Radius : 6000m
Crew : 1
The XM-01 Den’an Zon is first Developed in UC 117 by the MS manufacturer Buch Concern in secret for the Crossbone Vanguard forces. It was an MS that was to specialize in Close Quarters Combat and one that was required to be made solely for the use in combat in the colonies. Though the RGM-109 Heavygun was to be the first miniature MS and supposedly build to be the new age MS to be mass-produced, however, it is the Den’an Zon which really represents how the new age of the MS is.
The reason for this is that the Den’an Zon was equipped with a lot of the state of the art equipment’s, defense systems and weaponry, unlike the Heavygun which turns out to be just a miniaturized version of the Jegan with having similar types of equipment and abilities. There were many things that were equipped in Den’an Zon had that made it became a quite vastly superior MS when compared to the E.F.S.F’s Heavygun. First and for most, the Den’an Zon was designed to be a very maneuverable MS, equipped with 9 thruster units located throughout its body, this ensures that the Den’an Zon can outmaneuver any projectile based or energy-based weapons. As well to further improve its ability to survive in the harsh battlefield. The Den’an Zon is as well given an energy-based beam shield system to help better protect itself against beam based or projectile based weapons.

Hell, Den’an Zon can as well use it beam shield system as an offensive weapon, by having the beam gun attached to the Shield system so that the Den’an zon is still able to defend itself if it finds itself having run out with the ammunition for its main armaments. For its main armaments, the Den’an Zon was equipped with a weapon that is primitive in its design but one that has been proven a lot more effective in battle than any other anti-MS projectile based weaponry, the shot Lancer/Heavy machine gun. This weapon is unique because it was developed as a weapon to be used mainly in fighting in the colonies. Where both the shot lancer (to be used for medium to short range engagements) and the heavy machine gun (to be used for medium to long range engagements) is used to minimalize the collateral damage that would be done from the fighting that would be made from the inside of the colonies. This weapon has proven itself to be quite effective when used not just in the colonies, but as well when used in space battles.
The Den’an Zon would serve as the basis for several future Crossbone Vanguard mobile suit designs as well as serving as the basic grunt mobile suit of the Crossbone Vanguard’s military forces. In UC 0123 the Den’an Zon would be used in the invasion and capture of the Frontier IV colony. During the invasion, the Den’an Zon would perform admirably against the Earth Federation Mobile suits. During the short war with the Earth Federation, the Den’an Zon would continue to serve as the basic Crossbone Vanguard mobile suit. It would continue to serve those related to the Crossbone Vanguard for the following 10 years.

Unfortunately, due to the tech and the complexity of maintaining these machines, it inevitably made mass-producing and maintaining them to be very expensive expenditures indeed and since they are the backbone of the Crossbone Vanguard forces, meant that it required a lot of funds which they don’t have due to the economic blockade by the Earth Federation, to maintain and Mass-produce these awesome machines. This was part of the reason why the Crossbone Vanguard government in Frontier IV failed to maintain itself financially.
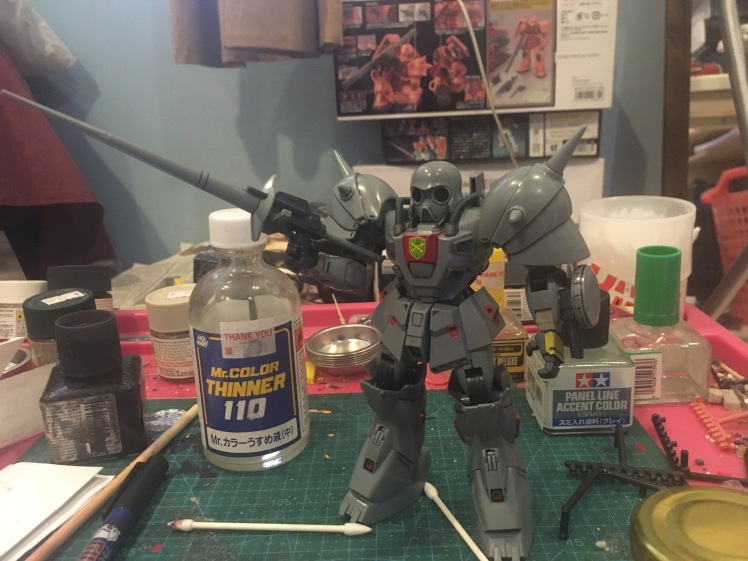
The Review
I admit, when I bought this kit a few weeks back, I know that I’m just buying this kit because of nostalgia that I had for it. I knew beforehand that I really cannot compare this kit with any of the current gen kits that we had. However, I was at least expecting this kit to be somewhat decent. One that I hoped to be one that I would have some nostalgic fun with.
But what I got instead, is something that left me really frustrated and pissed off.
Before we get to that, let’s talk about the kit bit by bit.
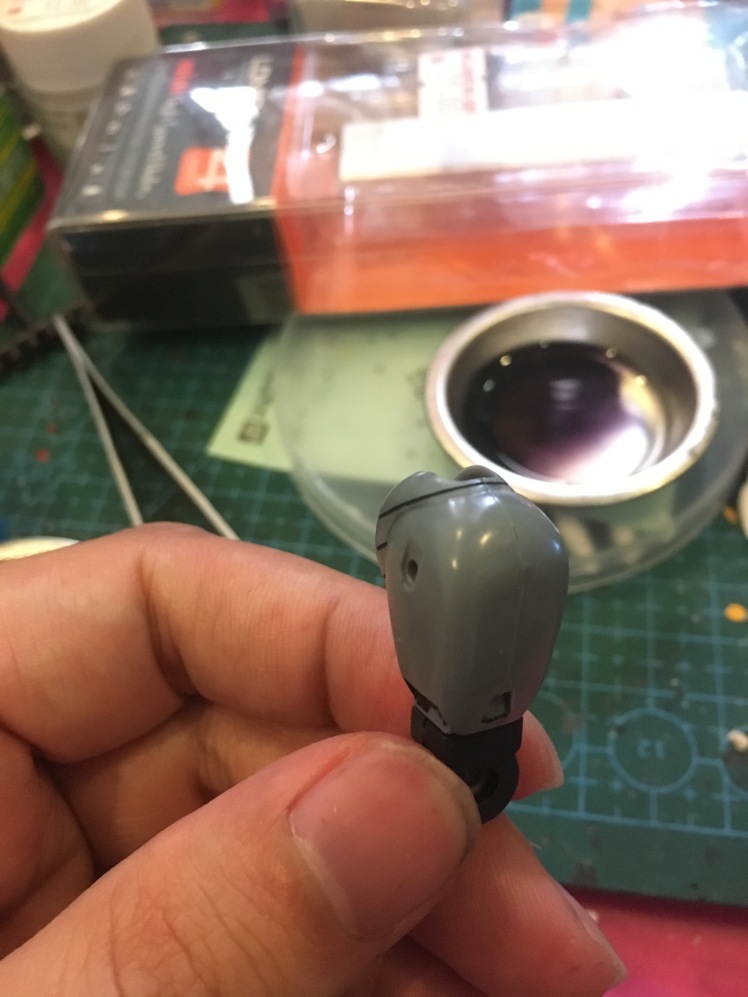
Building this is fairly straightforward since it is a very old kit, there wasn’t really a lot of things that might not be that revolutionary about this kit. It is in most parts share many traits that could be seen taken from the Char’s counterattack 1/144 series. However, the parts here does look better designed and looks a lot better overall.
I really was expecting this kit to come with a lot of unpainted parts that needed painting like the ones found in the Char’s Counterattack 1/144 kits and because it shares many of the same traits taken from Char’s Counterattack 1/144 kits I do find that there a lot of parts that has massive and ugly as hell seam lines. I only opted to just paint some of the parts and on not work on eliminating the seam lines just yet, the reason for this is that I do feel that I should show you guys on how bad the seam lines were for this old kits and secondly (and this is the most important point) because I spilled most of my cement out by an accident. Yes, I fucked that one up pretty bad, So, I decided to, just keep on building it. However, I did try to get a new one, unfortunately, most of the Hobby shop that I went to doesn’t have that particular cement in stock and since it’s the holiday I could only get the cement by tomorrow, and I really didn’t have much more time to spare.


Hence why it looked like shit.
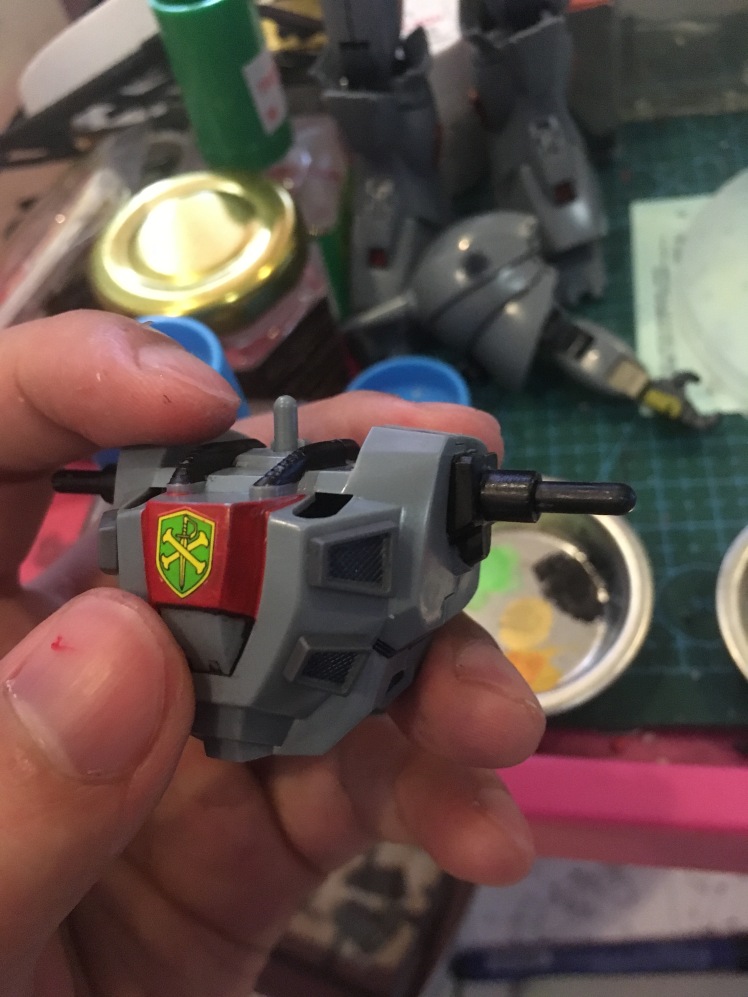
Though, overall, I do find to have some enjoyable time building this kit even though you can see that the parts do feel aged quite badly at most parts. Not to mention too the amount of work you need to put in to make the kit look at least decent. Even with the stickers, Bandai includes in the kit, it is not enough to make the kit look good. Actually, if I were to be honest? You better skip using the stickers at all, because all it does is make the kit look worse. So really don’t bother with the stickers and just paint the parts yourself.
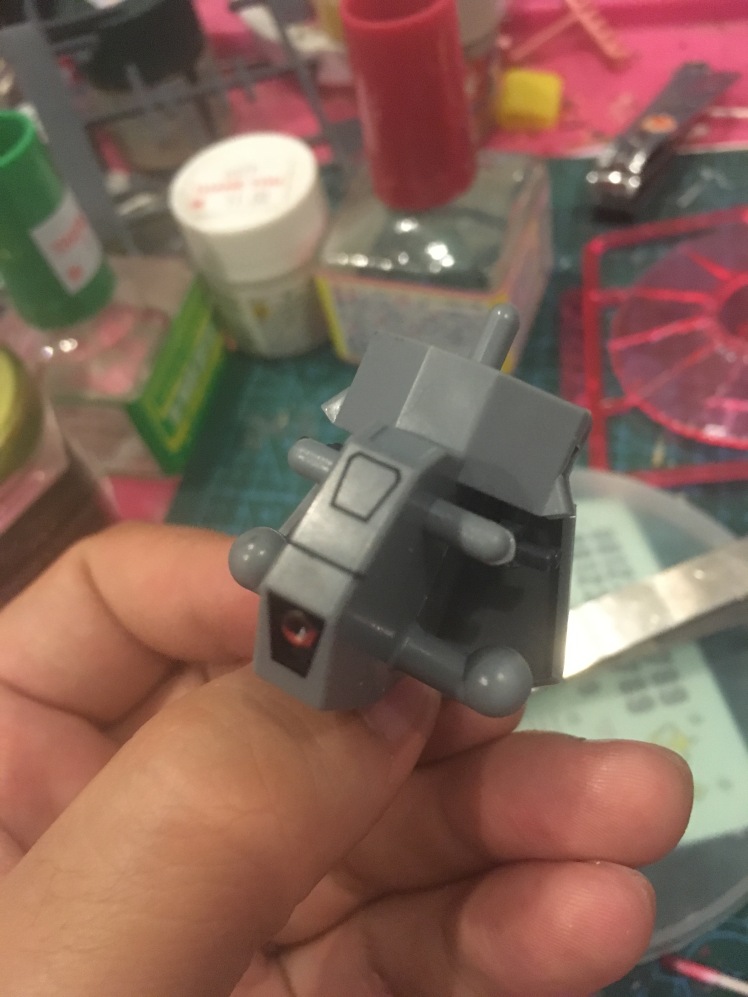
Then again I do realize that this is how they’d do it back in the day. So, I could understand why the kit wasn’t having a lot of color coordinated parts. Regardless it still manages to look quite all right, even with the amount of effort I put in. I believe if I would put more effort into it (and have the actual cement that I need), this kit would definitely look a lot better.
So it is not as bad to build actually, even for a retro kit.


However (now we get to the bit where I talk about what frustrated me), there is something that really manages to cheese me off and that is when you have all the parts ready and you finally decide to put all of them together. Only then you would realize that none of them would actually is able to hold itself well together and oh no, that is not even the worse part yet, that is because even when you do manage to have them attach them parts together it would still manage to make the whole kit feel flimsy as hell.
The arm unit was slightly loose but it is still manageable, but I do have some terrible time with the leg parts. Heck, I can’t even have this displayed on a stand due to the leg’s flimsiness. I found that I wasn’t just having trouble with the seams, I as well have a massive trouble with the joints. Thus making the need for getting the proper cement ever so greater.


Well, you might be thinking, well Kimi, this is a very old kit, you can’t expect it to act the same way you might expect with modern Gunpla’s. Obviously, things like this tend to happen. Well, I might believe you if I have no experience with the F91 1/100 kits before but the thing is I’ve had some experience with them and I have built the 1/100 Heavvygun and the G Cannon before. From what I can remember with them is that I don’t really remember them to be that flimsy.
Due to that, there isn’t much you can do with the Den’an Zon in terms of poses, without having it just disassemble itself in front of your eyes. So, really, the only option you have left is to glue it up and turn it into a static figure. That is if you really don’t plan to have it do anything else.
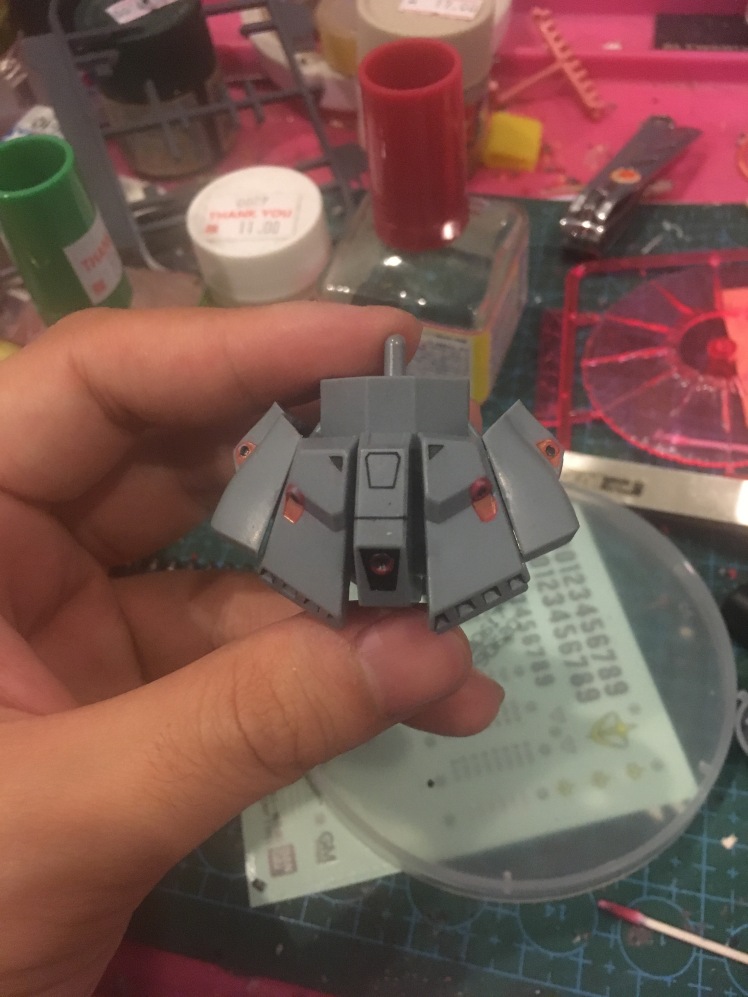
Well at least, when you do manage to have everything working as intended. I have to admit this kit does look pretty awesome. It does have a timeless look, looking at it does make me wonder how this would the modern look for this would be if Bandai decided to give this kit a second life as a HGUC release. I bet it would look even better, if they were to be made now.
Honestly, after working on this kit I started I have a strange feeling that the quality of these F91 re-makes doesn’t seem to feel like how it was back when I’ve made the 1/100 G Cannon or the Heavygun. This is especially true when I look into the quality of the plastic for the joints for this kit. I really found that level of quality for the Den’an Zon’s joints parts does feel quite questionable. It doesn’t feel like it was properly made and measured before they put it out to be sold to the public. It does make me wonder if they do any serious QC on the runners for these joints.
Or it might be that the nostalgia that I have for this kit made me think that new re-release is worse than the ones that I made back 21 years ago. Since the last F91 kit I’ve built was well back in 1997 I wonder if I remembered things differently. Unfortunately since the old kits that I owned before were nowhere to be found now, so it is hard for me to do a comparison in between the new and the old. Not to mention as well even if I do manage to find those old kits, it could be that by now the joints on those kits might as well not be as tight or as strong as it is back when I first built them.
So in the end, I was left wondering if really they just fuck it up with the new re-releases or if this issue really has been persistent from back then already and this kit is actually the perfect representation of how the Gunplas were back then. Whatever it is, I do feel its really hard to gauge the kits actual quality now. I guess it was better if I were to be able to review the kit back when it was first released. Then I can really say if that really is the case there.
However, all that I can really say if I were to think of it as a new release is that the frustration from trying to put this kit together and trying to pose this kit outweighs the good looks of this kit and fun feeling that I feel from building this kit. Really, unless if you don’t mind and is curious on how the Gunpla’s of old is then by all means get the F91 re-releases. But I can assure you, that when you do manage to get one and started work on it, by the end of it you will be glad that the modern Gunplas isn’t made like how they did back then.
I do hope that Bandai would eventually bring this to the new HGUC line, I seriously wanted to see Bandai take this MS design into the new age. Honestly, I do think that this is one MS design that people would love to see today.
With that ends my review for the 1/100 No-Grade XM-01 Den’an Zon! What do you guys think of the review? The desire from 20 years ago really manage to break me this time, and really, this review has been one that I have been really having a hard time with. Mainly due to the fact that I was having a hard time finding exact words to really show how frustrated I am with this, now with this review done. I do feel a lot better now, less pain and less frustration. Maybe I should lay off from building retro kits, for now.
Anyways, we will be back again this week more Let’s Talk Gunpla Segment on the coming Wednesday and we will be back as well this Sunday with hopefully a new exciting Unboxing and this is one project that I am really looking forward to start working on. This is one that I’m sure you guys would love.
As ever please do leave us a like if you enjoyed this article, as well do give us some feedback and comment if you think we would be able to improve further in making sure that we can give you better content in the future! As well, we want you to know that your likes and shares would be highly appreciated in supporting and helping us grow further, honestly, your love and support means the world to all of us here in Kimi the Builder Blog editorial team.
We hope by sharing our love and passion for gunplas here, it’ll inspire you to pick up the hobby or reignite your love for gunpla!
Anyways, we shall see all of you again next week, and we hope that you all have an awesome week and weekend ahead! Have an awesome Gunpla building time there as well and until next time!
Ciao!
